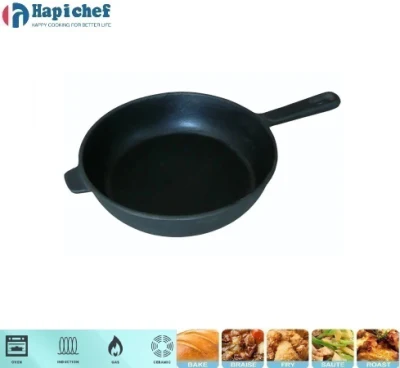
curing cast iron griddle
Curing a Cast Iron Griddle The Essential Guide
Cast iron cookware has long been celebrated for its durability and exceptional heat retention, making it a favorite among chefs and home cooks alike. Among the many types of cast iron cookware, the cast iron griddle stands out for its versatility, allowing for everything from pancakes to stir-fries. However, to ensure your griddle performs at its best and lasts a lifetime, proper curing—or seasoning—is essential. This article will guide you through the process of curing a cast iron griddle, ensuring you enjoy the benefits of this remarkable kitchen staple.
Understanding the Importance of Curing
Curing a cast iron griddle creates a natural non-stick surface, protecting it from rust and enhancing its cooking performance. When cast iron is heated, the fat used during the curing process bonds with the surface, filling in microscopic pores and creating a smooth, non-stick layer. This treatment not only provides a surface for cooking but also contributes to the unique flavor that develops over time, often referred to as the patina.
The Curing Process
Curing a cast iron griddle involves a few straightforward steps
. Here’s a detailed breakdown1. Cleaning the Griddle Start with a clean slate. If your griddle is new, it may come pre-seasoned, but it’s still a good practice to give it a thorough wash. If it's older and has accumulated rust or stuck-on food, use hot water and a scrubbing pad (avoid soap, as it can strip the seasoning). For stubborn rust, consider using fine steel wool. Rinse and dry the griddle completely.
2. Apply Oil Choose a good cooking oil with a high smoke point, such as flaxseed oil, canola oil, or grapeseed oil. Place the griddle on a flat surface. Pour a small amount of oil onto it and use a paper towel to spread the oil evenly across the entire surface, including the sides. You want a thin, even coat—avoid any pooling of oil.
curing cast iron griddle

3. Heating Preheat your oven to around 450°F (232°C). Turn the griddle upside down on the oven's top rack, placing a baking sheet on the bottom rack to catch any drips. This method prevents excess oil from pooling on the griddle's cooking surface. Bake the griddle for about an hour. This high heat allows the oil to polymerize, forming a durable layer of seasoning.
4. Cooling Down After an hour, turn off the oven and let the griddle cool inside. This slow cooling process helps prevent cracking and promotes a better bond of the seasoning.
5. Repeat if Necessary For best results, repeat the oil application and heating process two to three times. Each layer builds upon the previous one, leading to a stronger non-stick coating.
Maintaining Your Cured Griddle
Once cured, maintaining your cast iron griddle is crucial. After each use, clean it by wiping down with a soft cloth or rinse it with hot water. For stubborn food residues, a gentle scrub with a non-abrasive sponge is acceptable. Avoid using soap unless it’s absolutely necessary, as this can degrade the seasoning. After cleaning, dry the griddle thoroughly and apply a very light coat of oil to maintain its seasoning and prevent rust.
Conclusion
Curing a cast iron griddle is a vital process that enhances its functionality and longevity. With these steps, you can transform your griddle into a high-performance cookware item that will provide delicious meals for years to come. Remember that the art of curing is not just about creating a cooking surface; it's about nurturing a kitchen companion that can be passed down through generations. So, embrace the process, and enjoy the delectable meals cooked on your well-cured cast iron griddle!
-
Why Every Home Cook Needs a Cast Iron Meat PressNewsNov.12,2024
-
Unlock Perfectly Seared Steaks with the Cast Iron Meat PressNewsNov.12,2024
-
Master the Art of Cooking Thick Cuts of Meat with a Cast Iron Meat PressNewsNov.12,2024
-
How to Care for Your Cast Iron Meat Press: Tips for Longevity and PerformanceNewsNov.12,2024
-
How a Cast Iron Meat Press Enhances the Flavor and Texture of Your BurgersNewsNov.12,2024
-
Roasting Pan for Perfect MealsNewsNov.04,2024
-
Perfect Skillet for SaleNewsNov.04,2024
