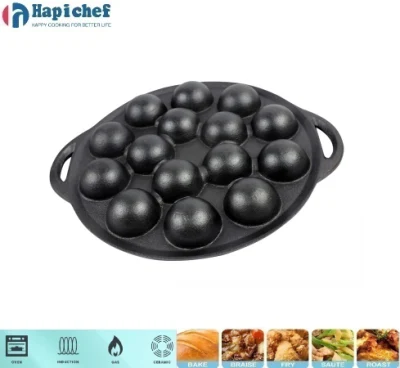
Tips for Properly Seasoning Your Cast Iron Skillet for Long-Lasting Use
Conditioning Cast Iron Pans A Comprehensive Guide
Cast iron pans have long been celebrated for their remarkable heat retention and even cooking abilities. Their versatility in the kitchen—from stovetop to oven—makes them a staple in many households. However, to truly unlock their potential, proper conditioning is essential. Conditioning not only enhances the cooking performance of cast iron pans but also protects them from rust and wear. This article delves into the process of conditioning cast iron pans, the benefits it offers, and tips for maintenance.
Understanding Conditioning
Conditioning—often referred to as seasoning—involves applying a layer of oil to the surface of the cast iron, which is then heated to create a non-stick layer. This process polymerizes the oil, turning it into a hard, protective coating that is safe to cook on. Initially, cast iron pans come with a factory coating that may not provide optimal performance. Thus, conditioning is crucial, especially for new and refurbished pans.
The Benefits of Conditioning
1. Non-Stick Surface A well-conditioned cast iron pan features a natural non-stick surface, enabling you to cook a variety of foods with minimal sticking, from eggs to delicate fish.
2. Improved Flavor With each use and proper conditioning, your cast iron pan accumulates flavor, enhancing everything cooked in it. This unique character is something that non-stick pans simply cannot replicate.
3. Durability A conditioned cast iron pan can last for generations. The seasoning acts as a protective layer against moisture, preventing rust and corrosion, which can degrade the pan over time.
4. Versatility These pans can go from stovetop to oven and are excellent for various cooking methods, including frying, baking, and roasting. Properly conditioned cast iron performs well in high-heat cooking, making it ideal for searing meats.
How to Condition Your Cast Iron Pan
Conditioning your cast iron pan is a straightforward process that can be done at home. Here’s a step-by-step guide
Materials Needed - A clean cast iron pan - Vegetable oil, flaxseed oil, or another high-smoke point oil - Paper towels or a clean cloth - An oven
conditioning cast iron pan

Steps
1. Cleansing Begin by washing your cast iron pan with warm water and mild soap if necessary. Scrub with a brush or sponge to remove any food residue. Rinse well and dry completely. It’s essential to ensure no water remains, as moisture can lead to rusting.
2. Applying Oil Pour a small amount of oil onto the surface of the pan—just enough to coat it. Using a paper towel, spread the oil evenly over the entire surface, including the handle and the bottom. Wipe off any excess oil to prevent it from becoming sticky.
3. Heating Preheat your oven to 375°F (190°C). Place the pan upside down on the middle rack to allow any excess oil to drip off. Place a baking sheet or aluminum foil on the rack below to catch drips. Bake for about one hour.
4. Cooling After an hour, turn off the oven and let the pan cool inside. This process solidifies the oil, creating a strong, non-stick surface.
5. Repeat For the best results, it’s advisable to repeat the conditioning process a few times. Each layer strengthens the non-stick surface while enhancing the pan’s durability.
Maintenance Tips
- Cleaning After cooking, avoid using soap on your cast iron pan. Instead, wipe it down with a paper towel or use a gentle scrubber. For stubborn food residue, use coarse salt along with a damp cloth.
- Re-Seasoning Over time, the seasoning may wear off. If foods start to stick, or you notice dull spots, it’s time to re-season the pan.
- Storage Store your cast iron pans in a dry place. Placing a paper towel inside the pan can help absorb moisture and prevent rust.
Conclusion
Conditioning your cast iron pan is an essential step in its longevity and performance. With the proper technique, you can create a durable and non-stick surface that enhances your cooking experience. By treating your cast iron with the care it deserves, you’ll enjoy the benefits of this timeless kitchen tool for years to come. Happy cooking!
-
Why Every Home Cook Needs a Cast Iron Meat PressNewsNov.12,2024
-
Unlock Perfectly Seared Steaks with the Cast Iron Meat PressNewsNov.12,2024
-
Master the Art of Cooking Thick Cuts of Meat with a Cast Iron Meat PressNewsNov.12,2024
-
How to Care for Your Cast Iron Meat Press: Tips for Longevity and PerformanceNewsNov.12,2024
-
How a Cast Iron Meat Press Enhances the Flavor and Texture of Your BurgersNewsNov.12,2024
-
Roasting Pan for Perfect MealsNewsNov.04,2024
-
Perfect Skillet for SaleNewsNov.04,2024
